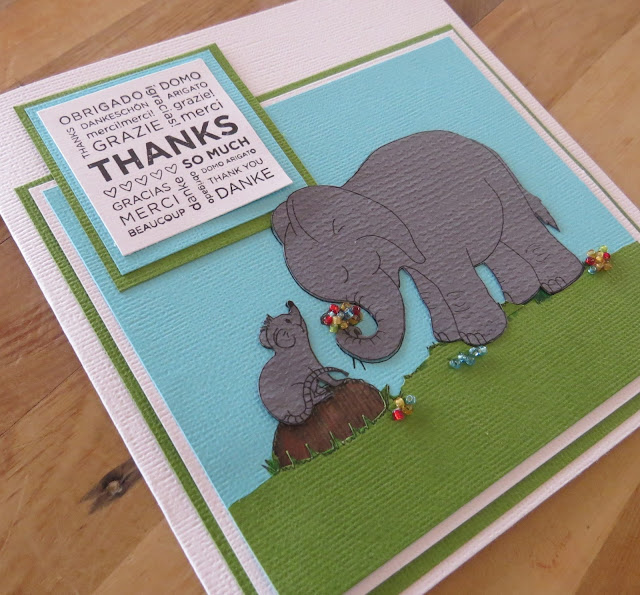
Waterfall card: Here is my favourite card, with instructions
This is my favourite card.


It is easier than it looks and so versatile.
Slide Card Instruction
 |
A: 8 ¾ ” X 4” (tip: cut 2 x 4 “ strips first to save paper)
B: 10” x 4”
C: 4” x ¾
D: 11” x 1 ¾”
E: four 1½” squares

From Patterned paper (double sided) cut:
3 pieces: 7½” x 3¾” (tip: cut 3 x 3 ¾ strips first to save paper)
2 pieces: 3¾” x 2”

To create the card
Score (A) 1” at one end and fold. Tape and attach to piece (b)
Score (B) 2 ¼ ” and fold over to close card.
Cover the front cover and inside of the card with your patterned
paper (not the inside front cover at this stage) and outside
and inside of card flip. This will be done after the brads
have been placed on the card

Piece (C) using small pieces of double sided tape

Cut four 1¾” squares from white cardstock
Cut four 1½” squares from coloured cardstock
Optional: cut four 1¼” squares from patterned paper)
Remember that the above colour sequence can
be changed to what every you prefer

Optional: Stamp the desired stamps on the coloured
cardstock (or on the white cardstock and cut out.
Then stick to the top of the layered card square)

Cut a 11” x 1 ¾” strip from the coloured cardstock.
Score from the left hand side at 6¼” and 7¼“ and 8¼” and 9¼”.
Fold and crease each score line.
On the back of each card section, place double
sided tape down the right hand side. On the 11” strip of CS,
attach each card to the left side of each score line.

Fold the unscored section and thread under the
strip attached to the card.
Secure the last Card section to the strip

With either patterned paper or Cardstock (7½ x 3 ¾“), cover the inside cover of the card to cover the brads. Now embellish the card as you wish. (I have put an arrow point at the end of the strip)
Enjoy:

Comments
Post a Comment